Chicken Pot Pie Filling (makes 4 generous servings):
My husband put this together (photo and all) while I studied in the other room. Hooray for easy freezer food!
Ingredients:
- 2 skinless chicken breasts, poached (if you've de-boned it yourself, toss the bones in the poaching liquid for extra flavor!). See *note below.
- Whatever vegetables you like! Onion, carrot, and celery are a given for me, but I toss in whatever else is my whim in the moment or what is staring back at me from the crisper. This time I added mushrooms, broccoli, corn, and kale. I generally do about a 2:1 or 3:1 ratio of vegetables to meat. You could easily make this vegetarian, too, and leave the meat out of it.
- 2-3 c. chicken veloute (see below)
- Poach the chicken breasts. You can do this in seasoned water, but if you have chicken or vegetable stock around or some stock paste (Better than Bouillon is pretty great), even better. Once you are done, save the poaching liquid! You'll need some of it for the veloute.
- Saute whichever vegetables will need extra cooking time beyond the oven (e.g. onion, carrot, celery, mushrooms) until just starting to soften, so they don't overcook. You just want to give them a little head start.
- After the chicken has been removed, strain the poaching liquid and set it to simmer.
- In a large skillet, heat 2 Tbsp. olive oil and whisk in 2 Tbsp. flour to form a paste (roux). Whole meal flours may get a little gritty, so white flour is traditional here. In this case, I don't mind white whole wheat. If using veloute where it's more exposed, a smoother texture is much more preferable. (A purist would use butter instead of olive oil, but I don't even keep it in the house. I'm a real rebel.)
- Stir the roux over low heat until just beginning to turn golden. You want to keep it light in color (and flavor).
- Slowly whisk in the liquid 1/2 c. at a time until approx. 2-3 c. have been absorbed. Simmer for 1-2 min. to thicken (it will thicken further upon cooling). It should be the consistency of a light gravy when finished. If it's too thick, you can always add a little more stock to thin.
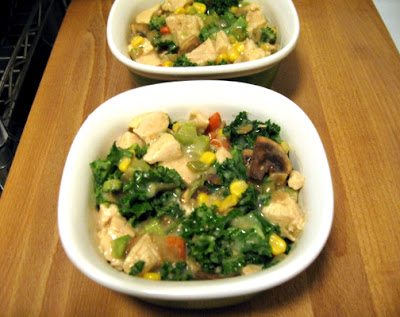
- Shred or cube the chicken and mix with vegetables in a large bowl.
- Stir in veloute. Add half and slowly incorporate the rest to taste, desired consistency (this can depend on personal taste and the vegetable assortment).
- Pour filling in individual containers. At this point, you can freeze it for later use or bake it up in some pies!
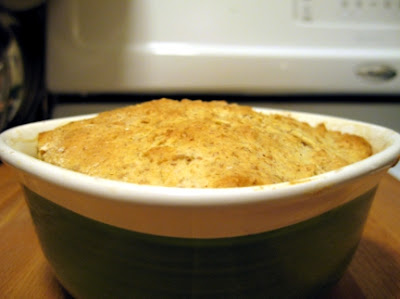
- For a crust, just use your favorite biscuit recipe. You'll want enough for approx. 1/3" layer of dough to cover each. Pierce the dough before baking to keep from over-rising. Then again, if you want it fluffy and more dumpling-like, forgo the piercing and bake as-is.
- Bake at 400° F for approx 25 min, or until it reaches an internal temperature of 165
°F in the middle - Enjoy!
0 comments:
Post a Comment
Thank you for your comment!